
First up I'll start with the easiest ship in the set - the UNSC Paris-class Frigate. This is a simple snip off the sprue (I recommend side-cutters with a fine point) and clean up - I used a scalpel with 10A blade but you can use a hobby knife, file or sandpaper to clean up the attachment point, depending on your age, skill level and available tools.


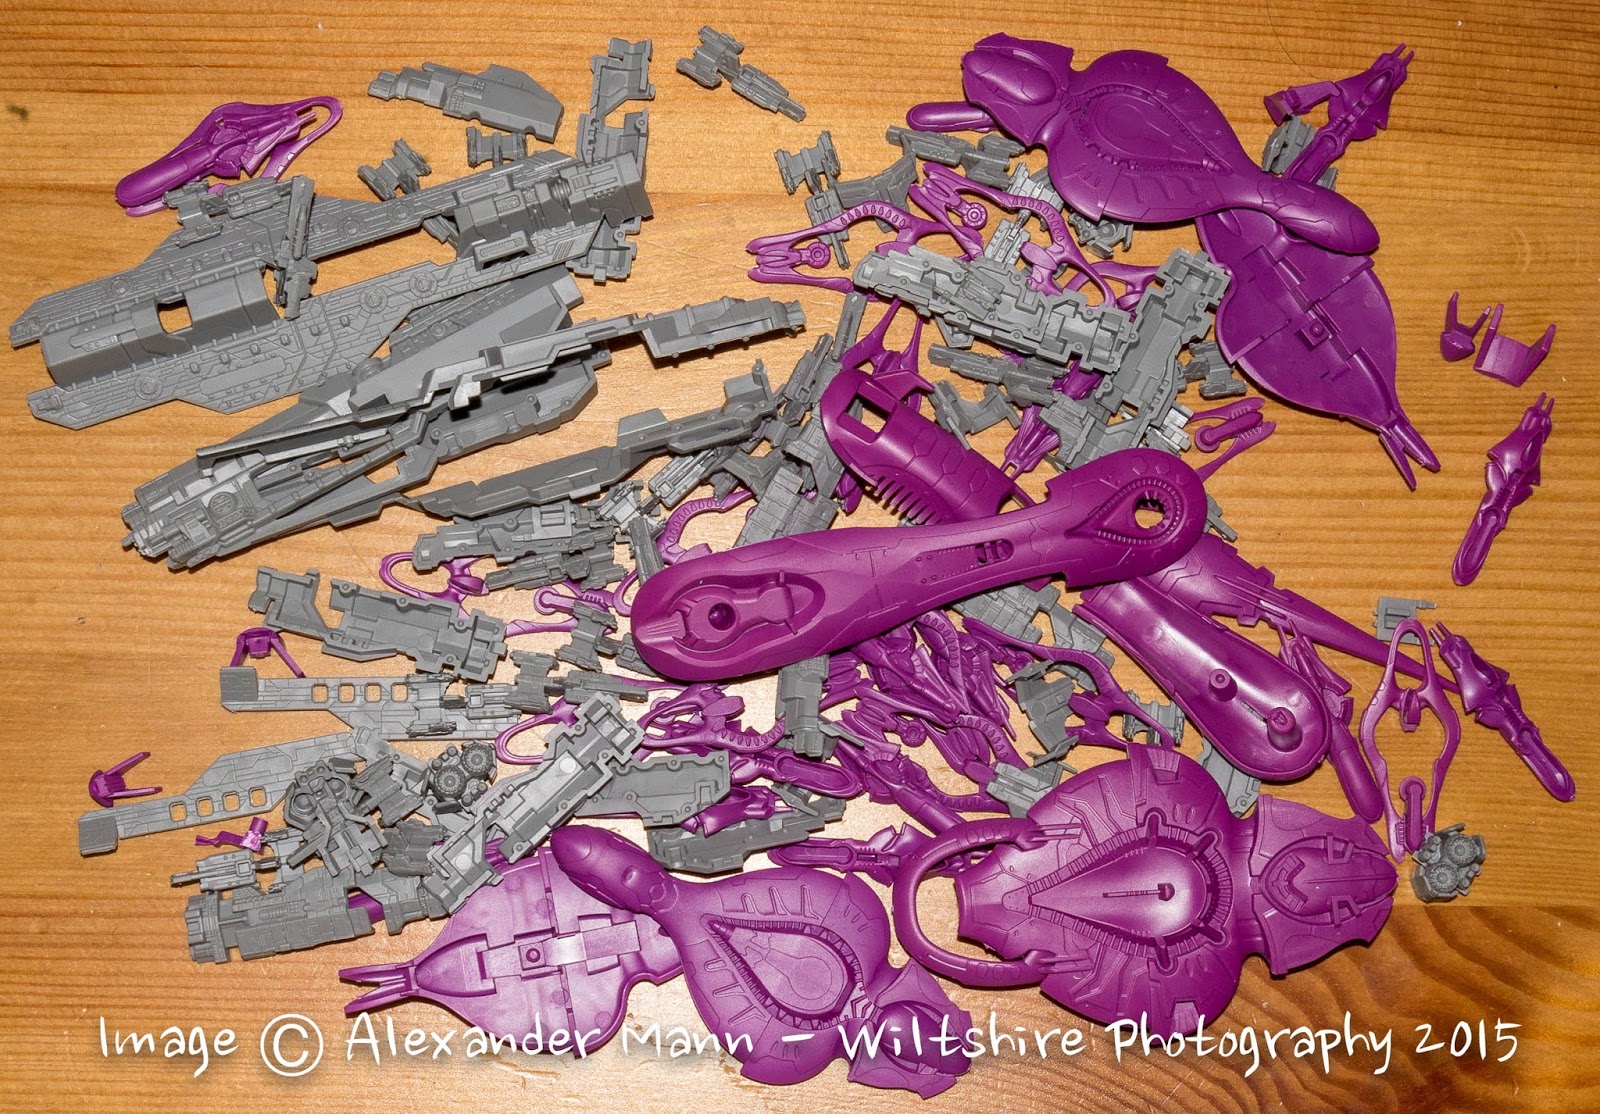
Next up is the Covenant SDV Heavy Corvette. This is a simple two-part model, but it has great detail and the iconic shape is represented very well.


Points of note here are to be very careful with both the attachment points to the two little "tails" and the enclosed ring - both need careful handling to prevent damage on detaching.
Then it's a matter of applying cement to either/both of the insert or raised areas - I used a regular liquid plastic cement with a precision applicator as it makes this job a lot easier.

The model then pops simply together, and hey presto;


It's a nice little ship, and also very indicative of why Spartan chose to go into plastic with this release - trying to build this in resin or metal would have been awkward to impossible, or cost prohibitive, at least. The colours of the plastics also bear mentioning - both these small ships demonstrate foresight in that those just wanting to get into the game without the attached hobby aspect can. Mine will, of course, see paint (via the trusty Badger 150 airbrush).
Next I looked at the Covenant CCS Battlecruiser.

This has four parts, and is a really nice model, both in the way it looks and how the parts have been split down. The main hull is a simple upper/lower split, which just requires gluing on the inside of the upper half to accomodate the lower piece


The front fins can then be placed within this - see the little pin on the first piece in the photo?

This fits into a little depression...


..like so. The other piece then glues in place onto both this and the main hull...


...like that - very neat! It's a great looking ship when complete.


Next is the UNSC Marathon-class Heavy Cruiser, which is one of the most complex models in the box, with 9 parts.

First is the inner hull, which is a simple matter to cement together


This then needs to be cemented into the outer hull, much simplified by the two cut-outs which show exactly how and where it fits


The rear engine assembly is then a simple add-on


As are the upper and lower add-ons, one going into this upper cut-out...


One into the lower double pin cut-out;


To complete the model then are the rear armour plates. These it is worth test fitting first (a practice I'd encourage throughout with any plastic model), but especially to ensure you're getting it right here, as one side (the lower) closes up together, the top does not.
So hopefully you can see there's a groove at the bottom of the rear of the model

And a square depression on the side at the rear

These correspond to a pin and ridge on the armour piece, helping you orient it correctly


Once on the model, flip it to the other side and you can run cement along the bottom of the armour part as well as the pin and secure the other armour piece to both the armour and hull. Here you can se the armour meets up and is cemented together;

Whereas at the top there is a gap, as it should be!

When all together, its a lovely solid little ship! Once again, you can see how this would have been almost impossible to recreate the layered armour of this model in resin or metal.


Next is the Covenant Big Boy - the ORS Heavy Cruiser (and my favourite ship in the box). This is a seven part model;

The main hull builds as the Battlecruiser by cementing upper and lower sections


The "head and neck" parts of the ship have the rest of the parts - we start with these two;

Careful cementing on the inside edge of the parts...

...leads to a half-complete neck assembly. It also provides the tab for the rear of the second section to rest on.

A little more careful cement application completes this

It's then a very simple matter to glue in the second pair of fins


The assembly can the be flipped over to add the final head/neck piece


This cements nicely in place as well, to create the finished piece. Again, it's difficult to see exactly how this could ever be created in resin or metal without some compromises being made.

All that remains is to bring the two sub-assemblies together. This is made very easy by the design of the union, which make it almost impossible to get this wrong or have the parts attach at the wrong angle etc - this is great foresight in tooling!

A bit of glue on the union area...

And hey presto!

This is a fantastic model - kudos to everyone at SG involved in creating and tooling this one!


The last ship is thus the Epoch-class Heavy Carrier of the UNSC, having eight parts (I forgot the engine block in the below photo)


This then sits in the outer hull, which is not as intuitive as the Cruiser, but easy enough;


Looking a little like a future combat carbine at this point, it's time for the top hull piece, which drops over the rest of the hull assembly


Next up is the engine block, very straightforward...


And finally, the extra spaced armour at the front of the ship. Placement of this could be tricky...

If Spartan hadn't put this little slot into the front of the ship that the raised armour slat fits into. This provides a positive key for fit andlocks the front hull assembly together with the upper hull.


The Epoch is an impressive ship - and she will need to be for the challenge of the Covenant!


So what's the verdict on the Halo plastic? A very big thumbs-up! The recreation of the Halo ships is fabulous, and the detail levels are superb in what is, for Spartan, a completely new medium. I would say detail is equal to, or even better then, their resin products, which is a high accolade. The plastic is a nice consistency - hard, but yielding well to tools and not brittle, and responding well to standard off-the-shelf plastic cement. There was zero flash or miscasting in my examples, and the ships build up quickly with few issues.
A review of the complete boxed set will be up in due course, but I've a lot of Firestorm stuff to get through first...at least I covered the important things to me (the ship models) and it should give you a view on what to expect from this important factor to many of us.
See you next time!
Excellent - managed to loose my instruction sheet!
ReplyDeleteThis comment has been removed by a blog administrator.
ReplyDelete