Search This Blog

Friday, 11 October 2013

The Return of the Directorate...Part 2

So I had a chance to go to Spartan Games for a second bout of v2 FSA, and was invited to bring Directorate along...so I thought I'd better finish some ships! As the match was around 700 points (I took 750 in the end), I was concentrating on the carrier, Tormentor cruisers, battleship and drones. I worked on the other ships as well, but didn't finish a lot of them - especially the frigates and cruisers. So, let's start with the mostly finished vessels;

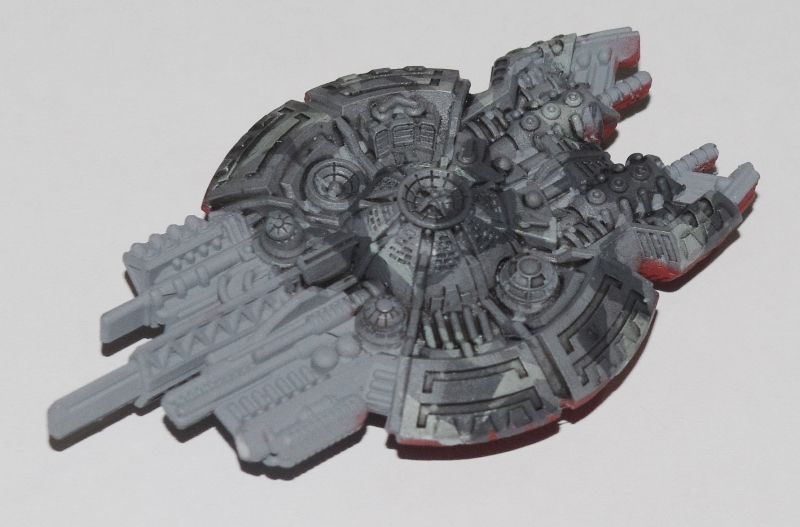
Firstly, the backbone of the fleet, which was the Judgement battleship, which additional shields to keep it alive for longer.


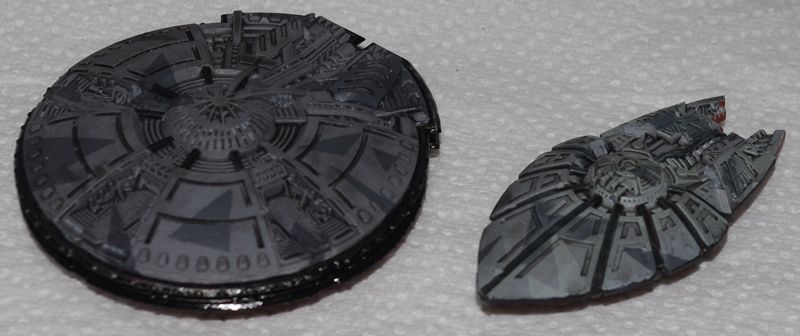
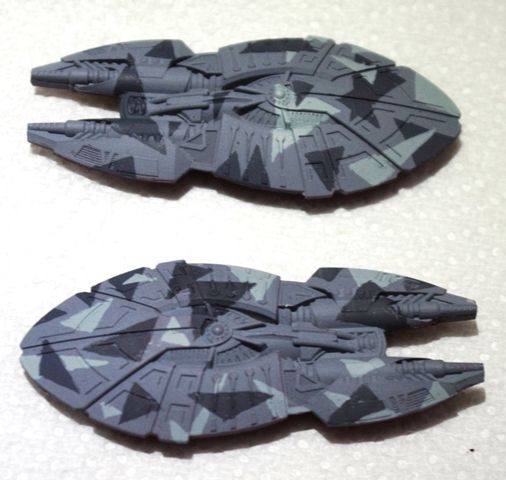
Next up is the carrier, which has always been one of my favourites


A pair of Nemesis destroyers;


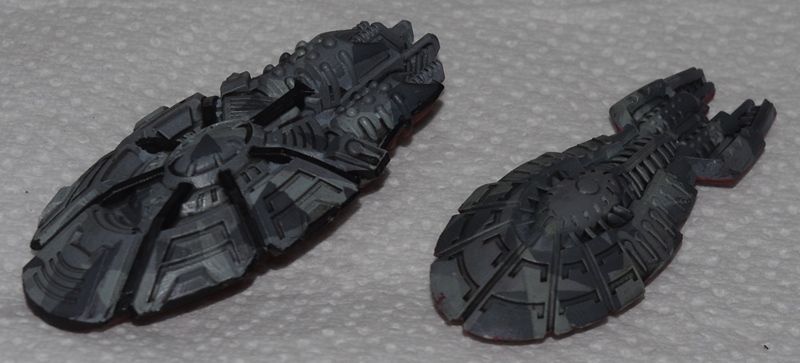
And the pair of Tormentors - one finished (foreground, right) and one 90% of the way....


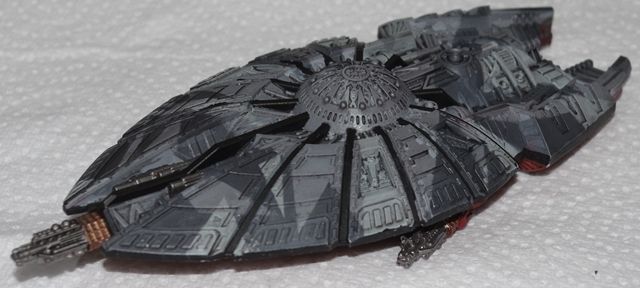
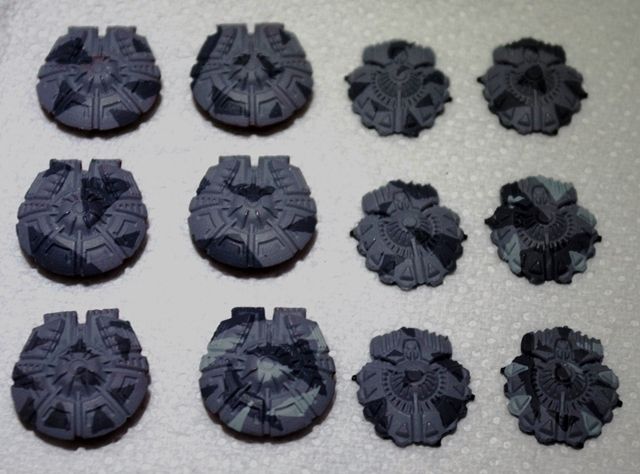
Next up are a squadron of Hostility drones, also almost complete - (rim "waterline" black stripes and engine glow to add). I still think they look like shrimps!


That's it for the force I took to battle, but I also finished up the Persecution;


Also in the pipeline I'm almost done with are the cruisers;


Mk II Cruisers and Heavy Cruiser;


Frigates;


And last (and least!) the Punisher escorts.


So almost there in getting my Directorate fleet fully painted and up to corporate devilment...bring it on!!!
 

Monday, 7 October 2013

Works Raptor Unboxing

So I got a lovely box of ships last night, and I thought I'd put a few pics and initial impressions from the unboxing on here.

The ships in question are the Works Raptor fleet - the worst of the worst in the FSA universe! Works Raptor are on the extreme fringe of the already dubious HMR Directorate, that shadowy company that everyone loves to hate...as such they rather appealed to me as the evil dark corporate killers - there's no ambiguity with Works Raptor, they don't even care who the good guys are!


So opening the box reveals a set of resin ships, a lot of metal accessories, flight stands and the ubiquitous card token sheets;


Taking the ships out of their little bubble-wrap baggies, we have the ships themselves. I took pictures of them with a Sorylian Morning Star carrier to give an idea of scale. First up is the Assault Carrier;


This is made up of three resin pieces - the central hull and two handed side parts with four extra launch bays each.


Next up is the torpedo cruiser;

This is a single piece resin hull with some nice detail - especially the central "power core" on the underside;


And finally comes the corvette, a typical Spartan metal single-piece;


Of course, the hulls aren't stand-alone, there are a whole bunch of shield plates;


Overall, the moulding on both the hulls and accessories is excellent, the resin hulls have basically no flash at all, and just need a little tidying on the mould pouring entry points at the rear, which takes less than a minute per hull with a scalpel. The shield parts take a bit longer, being metal, and there's a fair pile of bits when they're done (see the pile on the right here!), but all pretty straightforward.


Next step will be to wash in soapy water to remove mould release agents and then spray prime...see you next time!


Tuesday, 3 September 2013

The Return of the Directorate...part 1

So I've been thinking about v2 of FSA that's been announced for release in a few months time, and the reports that the races are being rebalanced. The Directorate, currently the weakest faction in the game, being brought up to speed with the other races.

Now my Directorate have rather languished in half-painted obscurity for the best part of a year, not seeing much action at all since Oscar and I played a special scenario in our old house and v1. So I decided to get the brushes out and finish what I started.

My Directorate scheme is a grey disruptive splinter pattern inspired by some of the naval experiments around WWII. I spray the tops with a neutral grey, the bottoms with red oxide (both auto primer).


The top gets triangular dark and light grey areas picked out.


It then gets a Badab Black wash.


This picks out the details nicely, and a drybrush with light grey further makes things "pop" on the model. The bottom gets a Thrakka Green wash followed by a Blood Red drybrush. The detail areas then get picked out. Here's a Tormentor that's been through the process;


As for the rest of the fleet, here are some more WIP shots;


Wednesday, 28 August 2013

Linked Mines...and tokens!

So I posted on the forums quite some time ago about the issues with mines in FSA - they're a rather weak weapon system that (at least in the original ship calculator) cost quite a bit more than the results you'd expect out of a similar weapon system. One idea I had was to allow a squadron of ships to link mines exactly as they can link fire - so 3 Mn4 cruisers could combine to lay a single Mn8 mine. This would be considerable more of a deterrent to larger ships than however many Mn4 mines, and provide ships armed with mines some tactical flexibility.

In order to properly try this out I'd need some appropriate counters, and rather than using dice (d6, d8 or d10), I thought about making some counters to easily distinguish between races and accomodate the values possible with their squadrons linking - for instance Terrans only have ships with mines that don't form squadrons, so they ONLY have Mn4 mines. Aquans, on the other hand, can produce an Mn10 counter from a squadron of cruisers...a real threat!

So, if anyone else fancies trying out linked mines, here are the counters in a PDF document.

Mine Tokens PDF

Happy gaming!

Sunday, 25 August 2013

The plans we make...

Well, after my last holding post, another couple of months have gone by. Unfortunately this has been down to heavy workload and some personal stuff - last week ago my wife had a CT scan and ultrasound following a consultation a couple of weeks after a bad GI bleed. Turns out she had a tumour in her colon, which was removed on Monday by keyhole surgery. She's now home and recovering, but this has left little time for FSA and other "fun" activties. A few posts on the SG Community, but little else....

Anyway, things should start getting easier soon, and I should be able to start posting some of the backlog I have! Until then....

Friday, 21 June 2013

Has it really been that long!?!?

Well I started a new job in April, which has been pretty manic - it's very demanding and doesn't give a lot of time to write blog entries. I then had a major family incident in May, which further threw me, and it's our end of financial half year in June, so all in all writing here has not been on my mind!

However, it's coming up to the weekend now, and after a brief foray onto the forums, I thought I'd put fingers to keyboard and give a little holding message about things to come....

So, although life's been as hectic as a caffeine-fuelled cat in a catnip field, FSA hasn't gone completely to the wind. There have been a fair few purchases, for instance - the first one back in March, the last one a few weeks ago. I decided to bring my collection up to a standard of having at least one of everything, and then after my Hostility drone design won the Directorate new small ship category, I decided I should have one of each of the new smalls too (I was holding out to see if SG sent me a free blister for winnning...but no...nothing :-(....ah, well...).

Oscar and I did play a game a couple of weekends ago - a Kurak Alliance vs RSN ensemble, which I'll get a battle report out from soon. I've also restarted my epic project of looking at a better FSA ship design tool based on all sorts of parameters...more on that later in the year I feel...

Well, that's all for now, just wanted to give a quick heads-up and hello to say that the blog's still active, and more will come soon. Bye for now!

Monday, 4 February 2013

FSA Campaign - Batrep 3

Turn 3 of the campaign was a game of cat-and-mouse, and also one of preparation - we'd both managed to manufacture new ships to send to the front;


With no combat, we went straight to Turn 4. I took the Aquan Barracuda I'd captured to pieces, gaining a single resource point from it. Realising I was not going to let up chasing his "Deep Blue" fleet that had annhilated my invading Relthoza at Aquarisum, Oscar decided to hold fast and take his chances - after all, he knew I was chasing him with a 500 point fleet as he'd met my two higher point ones.


Preparation

The battle was in open space, so we used "Deadspace", getting 2 obstacles - a distortion field and a comet, both on the extreme left edge of the board. Oscar got LoB deployment along the bottom edge, I got Flank at the left, which was ideal as (although too close for comfort), at least it gave me some cover.

Forces

Aquan "Deep Blue"
Medusa, -1HP, -4CP, 0AP, 3 escape pods
Manta, -1HP, 0AP, 4 escape pods
Tsunami, -4HP, 0AP
Tsunami, -2HP
Storm, -2HP, -3CP, 0AP
Storm, -2HP, 0AP
Barracuda, -1HP, 2CP (from Tsunami AP)
Captured Brood, -6HP, 1CP

Relthoza
Hive, 6 Bombers, 2 Interceptors
Bane Squadron- 3 x Banes, 3 Assaulters
Drone Squadron 1 - 4 Drones
Drone Squadron 2 - 4 Drones

Deployment

I started with the Carrier and Banes deployed as far back in my zone as possible, all cloaked with the interceptors between them providing PD cover. Drones all deployed in front of them, either in or behind the distortion field.

Oscar deployed his Storms, Manta and Medusa in a line from the left edge of his deployment, uncomfortably close, hoping to repeat the glory of his fleets first encounter. Tsunamis were deployed further right, and the Brood and Barracuda well to the right out of harms way.

Battle

I won initiative and moved the bare minimum 3" forward with my carrier, letting off a torpedo salvo at the damaged Storms (no effect) and deploying my bombers. Oscar powered up his Medusa and Manta using a Dual Maneouvre card, first destroying a lone Drone, then ripping into the rest of the squadron, completely destroying my first Drone squadron before it even moved, as well as dropping his bombers out of the Manta for further damage potential this turn (due to quick launch). This wasn't looking good!

The came my Banes...dropping their assaulters before short-shunting forward towards the Medusa, two arrived perfectly and one way overshot, arriving next to the Tsunamis. Link firing on the most damaged Tsunami with the two near the Medusa, my torpedoes ripped the ship apart. I then boarded the other Tsunami with my lone Bane, and the Medusa with the other two. The dice gods are fickle, and wanted blood - almost all my spiders arrived on the Medusa, and even halving their AP, they tore the Medusa's defenders apart for the loss of only two - the Dreadnought was mine! Not only that, but the Tsunami fell to me too - suddenly the balance had swung!

The Storms attempted to strike back but had no luck. Using "Punch the Boosters" and rolling a 6, my bombers surged forward and attacked the Manta, losing a single wing to PD, they landed a nice critical on it, setting it on fire.The Brood and Barracuda both turned away from the battle and started powering up FSDs, whilst my second Drone Squadron moved forward nicely into RB2 of the Manta and blasted it again for a Hard Pounding, my interceptors providing PD cover again. His bombers attacked the captured Manta, but the excellent automatic defences cut down 60% of his attack, making the resultant torpedo run ineffective. The assaulter moved in, barely avoiding the comet's movement at the end of the turn (oops!).

It seemed incredible that this was only the end of turn 1! Turn two saw Oscar win initative and use a damage repair party, but fortunately I had a counter card that prevented the Manta regaining potency. Nevertheless, the battlecarrier performed a 180 turn and blasted one of the Banes with a critical (hard pounding -2CP) and damaged another, before powering up its FSD. The Banes short shunted as far as possible away and into the path of the Brood & Barracuda, reforming their squadron perfectly...these guys were in for medals for sure! I managed to pick off the Barracuda before it jumped, but the captured Brood was shunted out...damn! The Storms had an ineffective round of firing at their former comrade Tsunami, and activated their FSDs as well.

As for wings, my assaulters attempted to board the striken Manta, but even with damage it's PD shot all but one of them down, this being repelled by the intensive barrage. My bombers went off to refuel at my carrier, also flying directly into the comets path and escaping death by about 1cm! What is it with these flyboys? My interceptors came in to mop up his bombers, and the two flights wiped each other out.

Turn 3 saw my Banes swing back into action, short-shunting in front of the Storms perfectly, blasting them to smithereens before they could escape. The Manta then shunted out, bringing the game to a close.

Verdict

It was a gamble, but it paid off! I didn't rescue my Battleship, but I got a Dreadnought and a Heavy Cruiser in exchange, plus I rescued some of the crew from the first disasterous battle - not a bad result. That Battlecarrier is a marked ship, and even though it escaped I can't allow it to survive! Unfortunately trying to assault it in an Aquan-held system with a facility and its defences is probably more than I'd want to try and risk, so I think consolidation is the best course of action for me right now. The Banes were definately the lynch-pin upon which my strategy won the day - it could have easilt gone the other way, especially with Oscar's pinpoint accuracy in the first round of blasting Drones out of a distortion field! I think he timed his exits well, and only lucky dice meant I got away with denying him the Barracuda and Storms. His firing dice wer good, but his torpedoes sucked in that game - mine were pretty good, and his PD and shields were really bad.