Search This Blog

Tuesday, 24 April 2012

Aquans and Relthoza

Well, I've been pretty busy over the last week or so, mainly because my employers kindly decided to make my position redundant, so had to spend some time tying that all up, which always occupies one's mind. Fortunatelty its amicable enouh, despite being completely unexpected.

I've still had time for hobby pursuits, but haven't been so inclined to write it all up on here. This means I've somewhat of a backlog to get through! Been spending quite a bit of time helping out Chris of The Black Ocean on the Firestorm Armada Army Builder files, coding Zenian League ships and working out how to do some of the validation of Alliance fleets. Also been redoding the Orders Received! Excel version of Ravagers, and posting on the SG Community too.

Anyway, onto models...Oscar has been busy painting up new Aquans...MkII frigates, a Triton and a converted Mon Calamari ship from Star Wars - the Aquan "whaleshark" dreadnought. Also WiP is a Medusa Dreadnought that I'm not that keen about playing against!


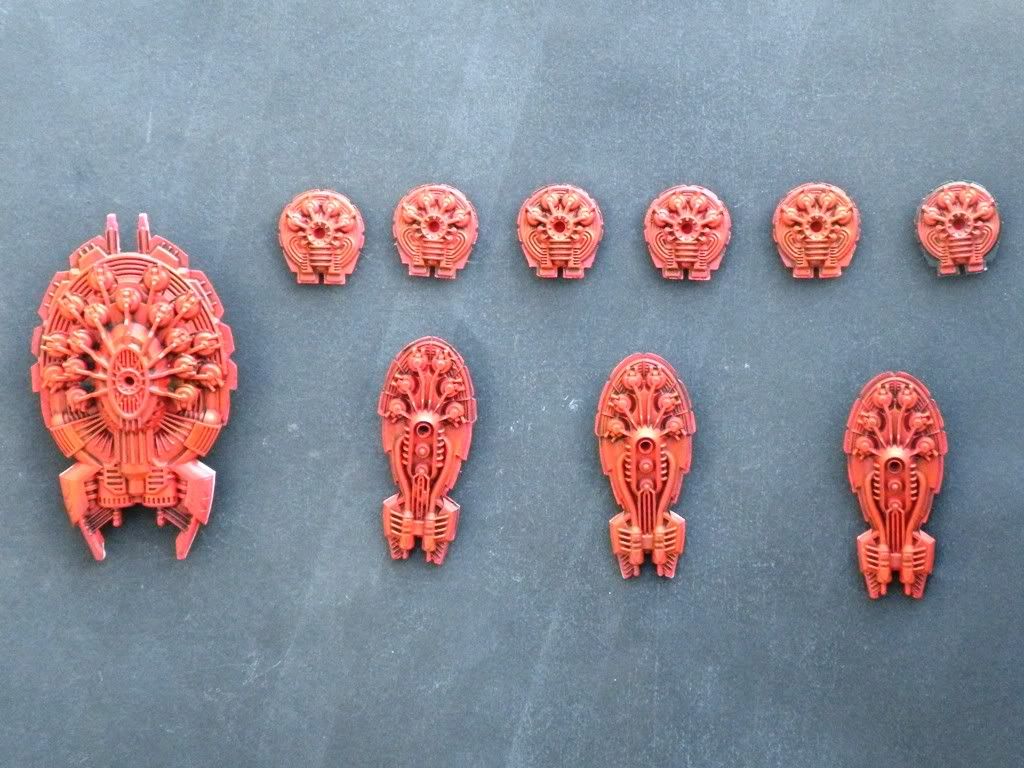
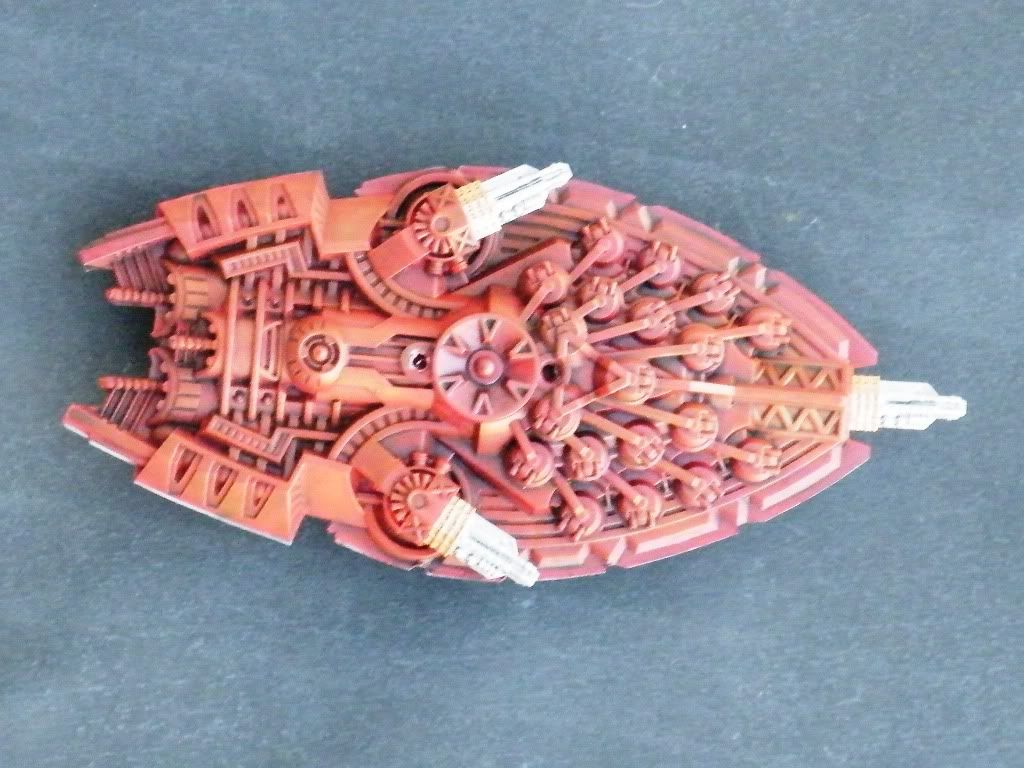
I've been concentrating my efforts into the rather large Apex dreadnought, a Scarab Heavy Cruiser and two Venom class Destroyers. Unfortunately I've also discovered an apparently common issue with digital cameras correctly capturing shades of red - in short they don't do a very good job of it (which explains why I couldn't get good pictures of them). I've ordered a photographic colour correction chart, so hopefully I can use that to ensure I get good, accurate photos of them soon.

Saturday, 14 April 2012

Aquan Cruiser Wreck Detailing

So I've been meaning to post this for a few days, but one thing or another has got in the way. Anyway, was asked if I could post a write-up of how I did the Heavy Cruiser aquan wreck I poste on the Spartan Games Community, so here it is.

First of all, the materials. I used the partial Aquan Cruiser, some 10 thou plasticard, some plstic strip, superglue (crazyglue in the US), plastic glue, scalpel - all pretty basic things from your workbench.

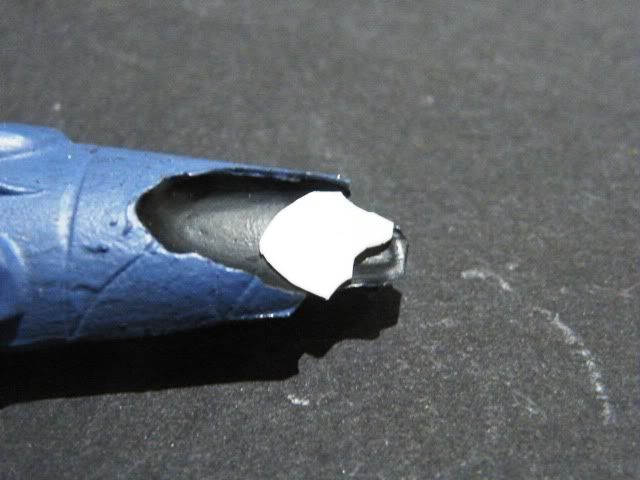
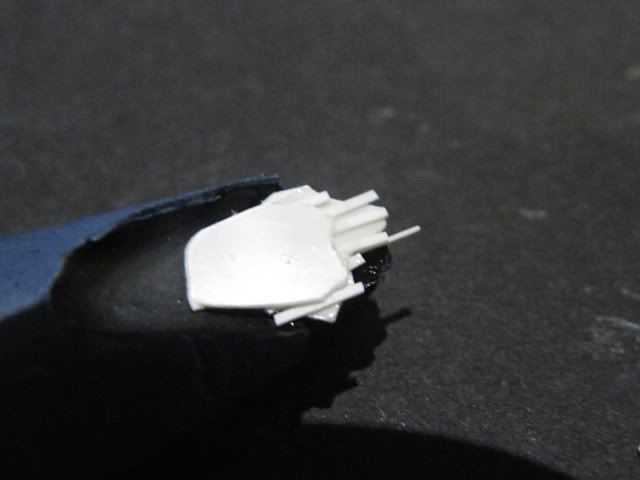
So, having assembled everything needed, first step is to cut a piece of plasticard to fit the bottom of the void in your resin. This is superglued in place, ensuring you get it nice and level. I used superglue gel as it has a slihtly longer cure time and doesn't run all over the place, which means you can tweak its position (I used a small strip of plastic strip for this)

The reason you glue this in place is to give a nice stable plastic platform to work on, meaning you can use plastic glue rather than superglue, making the whole process much simpler. You can use other materials and superglue, but it just takes longer and is more fiddly - if I'm going to go this I'd wait until all plastic work was complete then add wire, tubing etc at that stage.

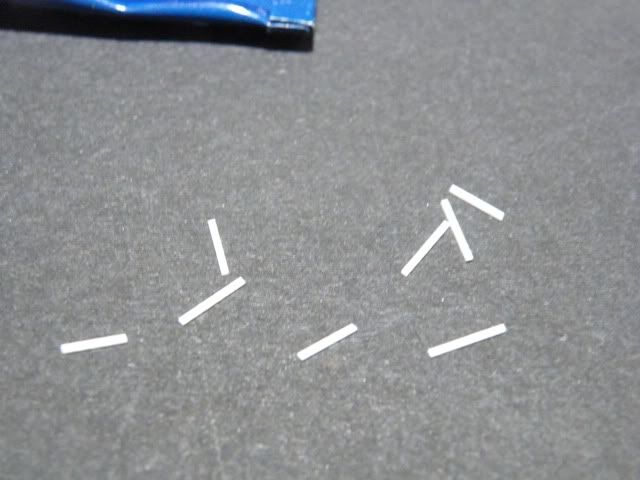
Ok, so when the glue has set, next stage is to add detail to it. Cut a whole bunch of plasticard strip lengths of 5-10mm.


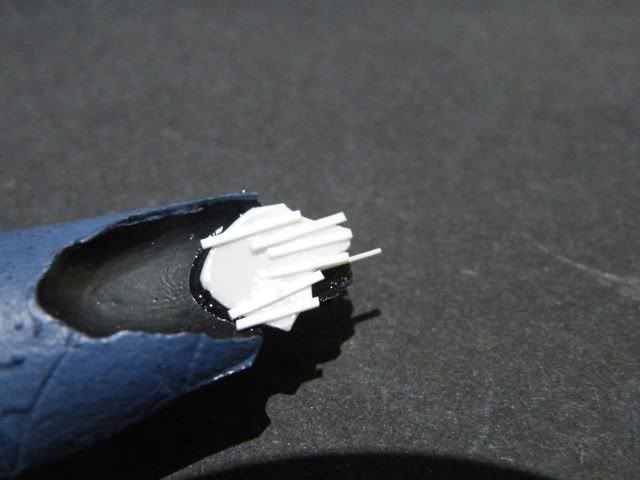
Now cement these onto your deck with plastic glue, varying lengths protruding etc

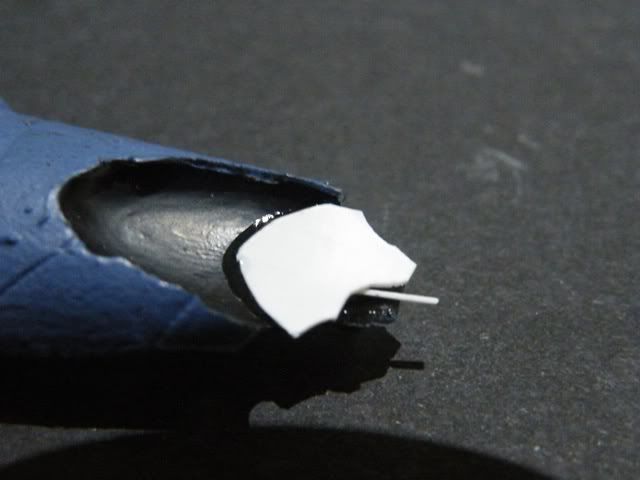
Now cut out and add a second deck level
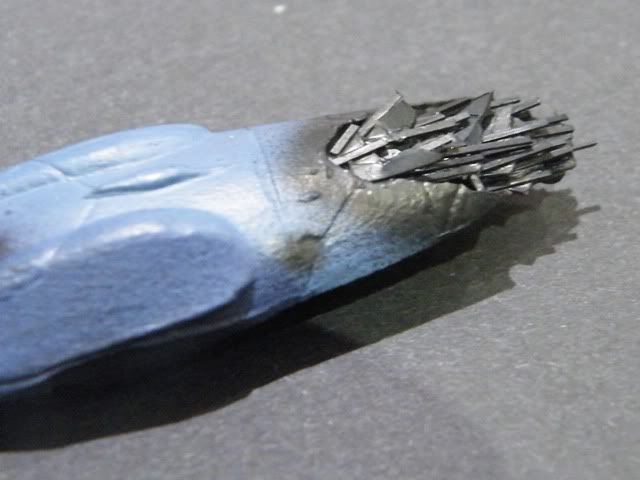
See a pattern here? Now repeat these processes until you've filled the void. Keep in mind the original shape of the ship - you don't want to go outside this imaginary 3D boundary much (you can a little, to represent spars etc exploding outwards).

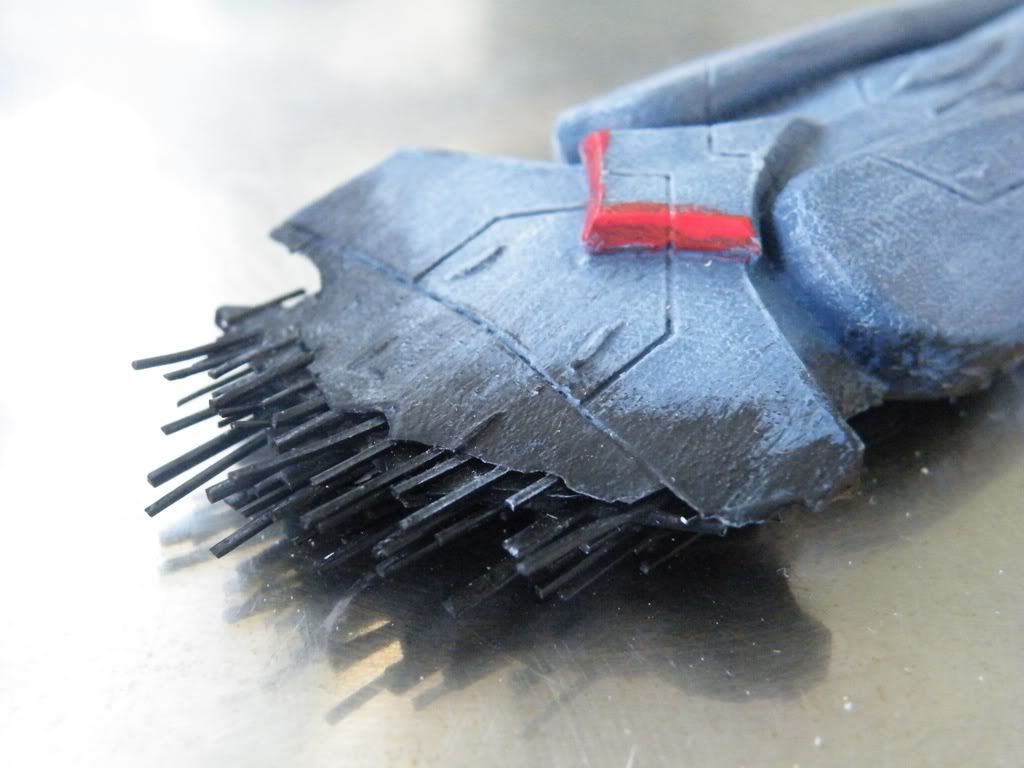
You can bend the plastic strip a bit if you want to represent exploding/imploding forces, vary cross-sectional spars or whatever you like to create the effect you want. Another step you can add is to superglue some foil fragments around the edge of the damaged area, which can then be bent outwards to represent the external hull rupturing out. I didn't do that in this case, wanting to keep it fairly simple. Next stage is painting, and with all the layers it's far easier to spray than hand-paint. Make sure the assembly is fully dried, then mask off and spray.
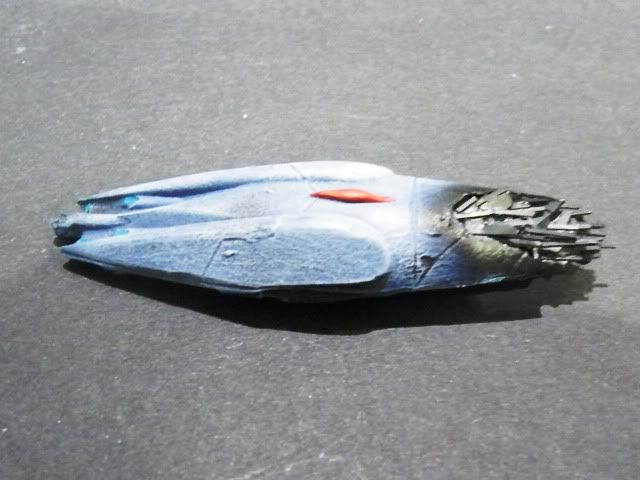
I typically do detail painting etc first, but in this case didn't, so that was all doen and voila! One wrecked Storm class cruiser.

Tuesday, 10 April 2012

Directorate Fleet & Aquan Wrecks

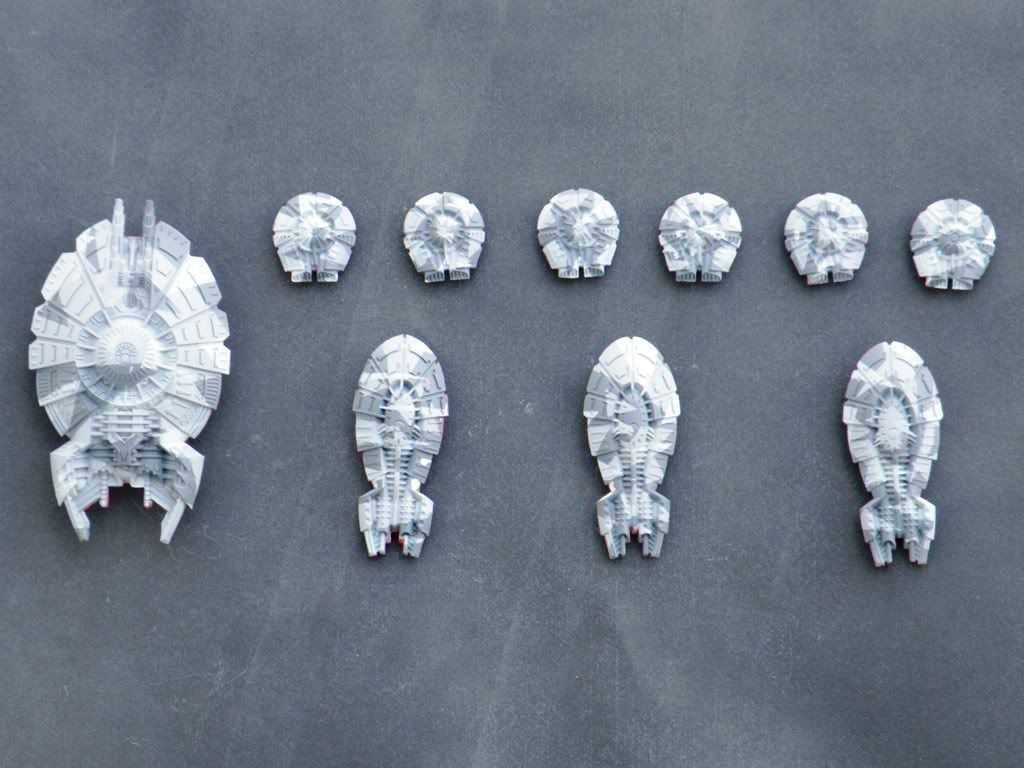
So I managed to get my Directorate starter fleet sprayed in its basic dazzle splinter camo on Monday.

Next the undersides were sprayed red as for the Persecution class, followed by washing all the red undersides with Citadel Thraka Green and finally a drybrush in blood red to give some impression of depth. I tried out the "waterline" black on a frigate too (on the extreme right), though the effect isn't that noticable on these ships as they don't have the middle depth of the capital ships. On the larger ships it should tidy up the camo/red interface
The final bit of painting I managed to do were the disruption cannons on the dreadnought, which were done in brazen brass and gunmetal. The photo doesn't show this too well, but then they haven't been washed etc so there will be other update photos in future that will show them better.

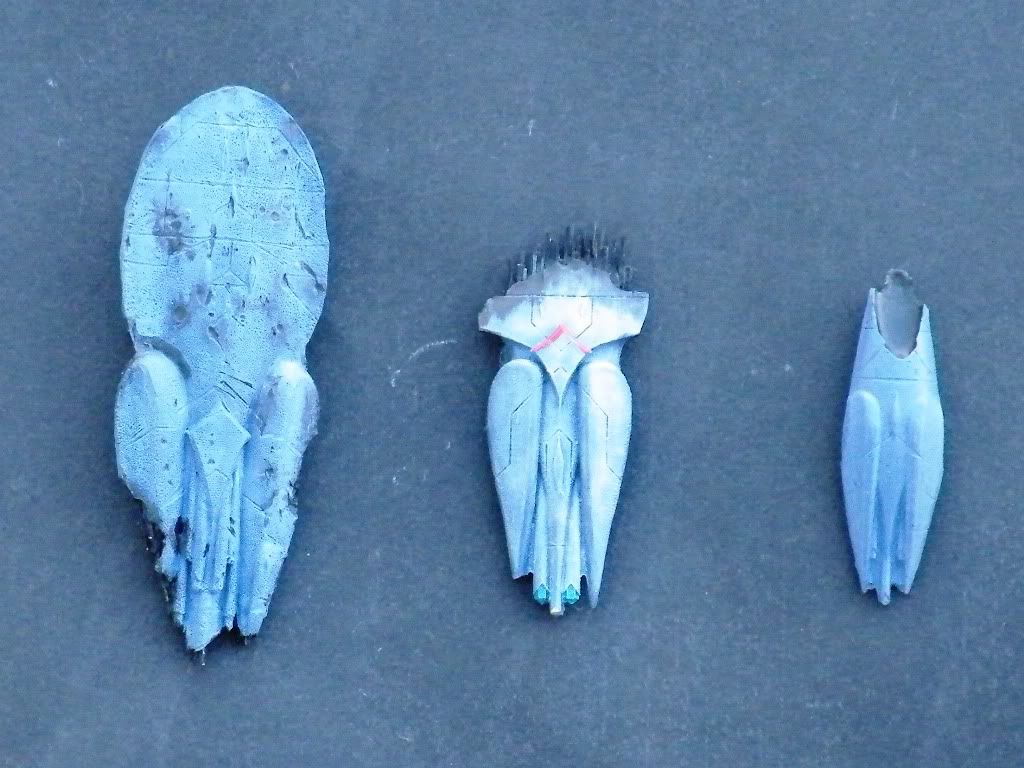
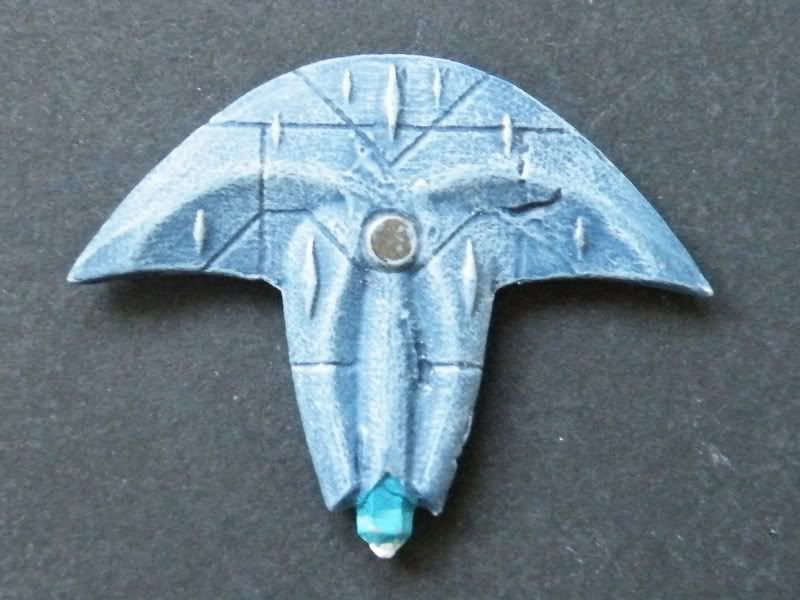
On another note, I made some wrecked Aquan ships a while back (much to Oscar's disgust!), but haven't got around to finishing them yet, so Oscar's been dry brushing them as he does his new Manta class battle carrier. Anyway, thought I'd post some pics of them here. We have the mauled remains of a Poseidon class, a heavy cruiser that's suffered very badly and a Storm class, also with no front.
The Tsunami is basically finished, the Poseidon needs a final dry-brush, dormant power crystals painting and weapon impacts finishing, whereas the Storm has only been base coated, and still needs the internal remains adding and the whole thing dry brushed and detail painted like the Tsunami class below.

Sunday, 8 April 2012

Battle Report - The Charter of Might

So as I mentioned I finished this battle report whilst on holiday, and am posting it here for posterity...am now working on the follow-up battle report. More later today when we've done some other model-related bits!

The Charter of Might.pdf

Saturday, 7 April 2012

Holiday Post...Army Builder

4/4/12: I had a couple of back & forth emails with Chris of The Black Ocean about the Firestorm Armada Army Builder files last week- mainly about a couple of ideas I’ve had about solving some of the current issues with wings, cruisers and escorts. I did some work on them last week, and finally got the Army Builder files completed whilst on holiday in France – visited a Caramel factory in the morning and Bayeaux in the afternoon, finished the files in the evening. Also finished the battle report in which my Dindrenzi/Relthoza took apart Oscar’s Aquan/Terran fleet – entitled “The Charter of Might”, which was my Dindrenzi battleship’s name. I’ve put it as a PDF as it’s really too long as an addendum to a post. Missing my fleets whilst I’m away – I should have brought some of them and some paints so I could do them while I’m here…ah well, next time!

Thursday, 29 March 2012

Making Magnetic flight stands

I posted on The Black Ocean that I'd get a post on here about the flight stands I've made for our FSA ships. My first attempts at making these were using some 3mm x 2mm neodymium rare-earth magnets that I've used for magnetising 40K tyranids (I should do another post on that too, I suppose!). This is actually harder than it sounds, as it involves gluing two of these fiddly things, one into a hole in the ship (relatively straightforward), and another onto the acrylic post of the flight stand. Needless to say, unless the flight stand is absolutely vertical the magnet doesn't want to stay there whilst the glue dries, and acrylic isn't that responsive to superglue anyway, so if you knock the table etc it falls off and sticks to anything not made of acrylic (the table, paper, fingers, jeans etc). I did one Aquan frigate, and put it on when it had dried to find out it was not straight at all.

Now these magnets are pretty cheap nowadays (you cn get 100 on ebay for less than 5 GBP /~$7 including delivery), so I wasn't that bothered about using double the magnets, I was more concerned with how long it was going to take me gluing all these magnets to flight stands well. Of course, you don't need two magnets if one side is a ferrous material, which got me looking into 3mm diameter steel rod. You can pick 33cm/13" lengths of this up on-line or on ebay for about 7 ($11) GBP per metre delivered - I got 10 lengths for 20 GBP delivered.
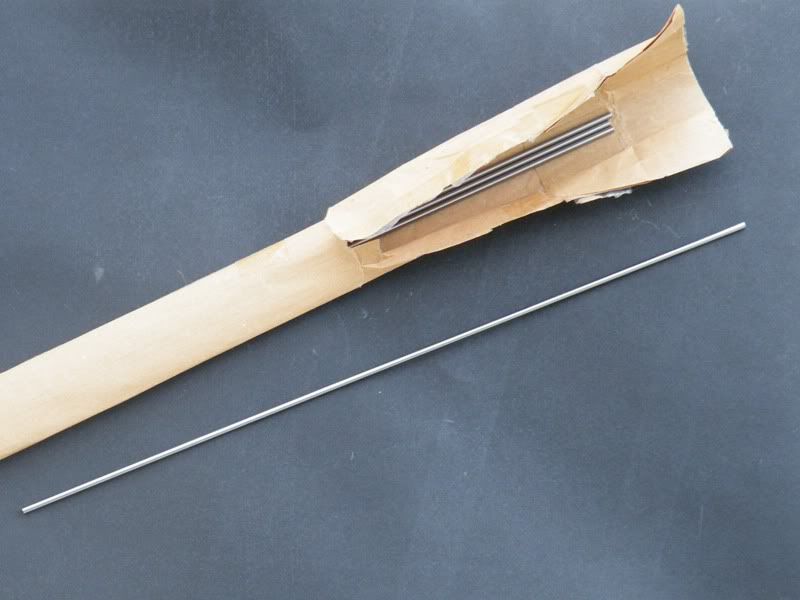

Each of these cuts into 7 FSA flight-stand-length pieces, but of course as it's stock material you can cut it shorter or longer if you want some variety - this also has the advantage of making it easier to cluster your ships together without cross-talk (sneaky, eh?). Cutting the lengths is the dullest part of the operation, but obviously was made harder in my case because I was making them for a lot of ships at one time. Once cut, they need levelling out and de-burring which only takes a few seconds per piece.

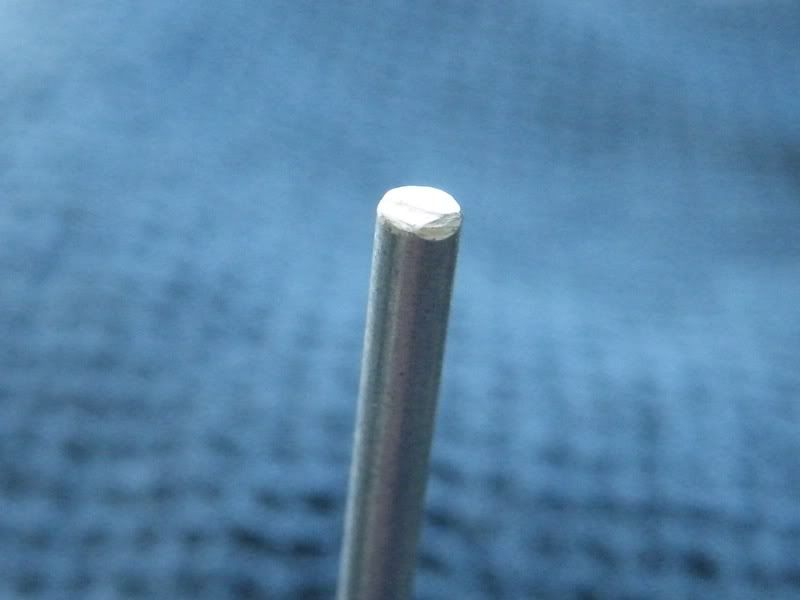
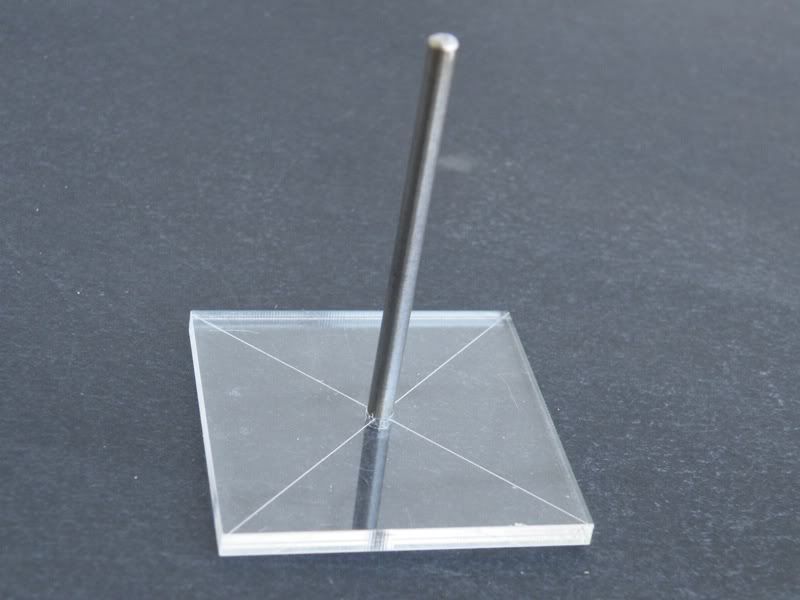
Once cut & cleaned up, they go into the stand without any issues, just replacing the normal plastic flight peg.


On the ship side, the first ships I did, plus the metal frigates, all got magnets as they were, which makes them pretty much flush to the surface - here's an Aquan escort to show that;


I used 5 minute epoxy rather than superglue, because it's both stronger, more flexible and easier to carve if it gets where it shouldn't. It also has nice gap-filling qualities, which is good because some of the holes on my models were almost 4mm in diameter (more of this with the resin models in a moment). The magnets are strong enough to hold them even if not sitting flush to the end of the flight stand, but on some ships - notably the Relthozan frigates, they don't necessarily hold them perfectly. One reason for this is that the glue can lip up over the edge of the magnets or cover them completely, meaning uneven contact with the rod. This can be easily remedied with judicious use of a scalpel - you can see this has been done on the escort above.

On the resin models, the magnets aren't necessarily doing the holding up of the model, they're more keeping it in place, so the rod still needs to support the model lateraly. As some of the resin peg holes are shallow anyway (the Sulan and Aquan cruisers, together with the Dindrenzi Heavy Cruisers are worst for this), they really need drilling out some more. Here's the magnet in a drilled out Relthoza battleship - just visible down the dark hole...
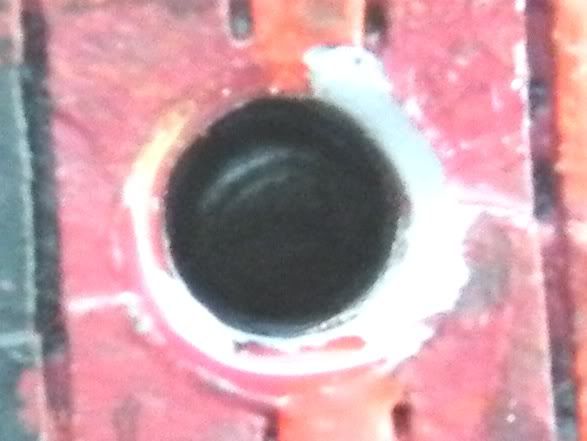
This is easier on some models than others - Terran cruisers aren't very deep to start with! I mentioned some of the holes were pretty wide anyway, and again the Sulan cruiser comes up here - it's got such a wide, shallow hole I don't believe it would stnd on a normal flight stand anyway. When I first magnetised one the magnet sat flush with the model's hull, and the weight of the metal front just pulled it down. After digging the magnet out of the epoxy, drilling a deeper hole and re-magnetising, they do very well indeed. Here is the Rethoza battleship above being held upside down on one of the steel-pegged flight stands - just the magnet holding it there... (I did test it out a few inches above a soft cloth before doing this, but was still a bit nervous!)
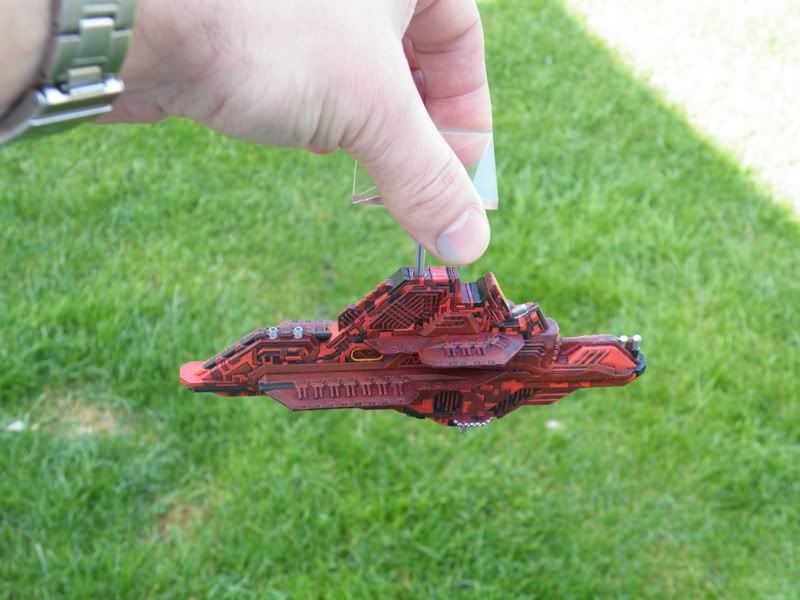

So, for an outlay of about 25 GBP ($40) you can convert about 70 flight stands (which should be enough for most games) and have a bunch of magnets left over for other projects - plus you can use the left-over Spartan plastic rods to glue lava rocks onto for asteroids!

Wednesday, 28 March 2012

Persecution Class Dreadnought - WiP

So thought I'd get the first basecoat on the Directorate Dreadnought last night, and write a bit of a mini-review on it, having also finished our first game with it in last night too.

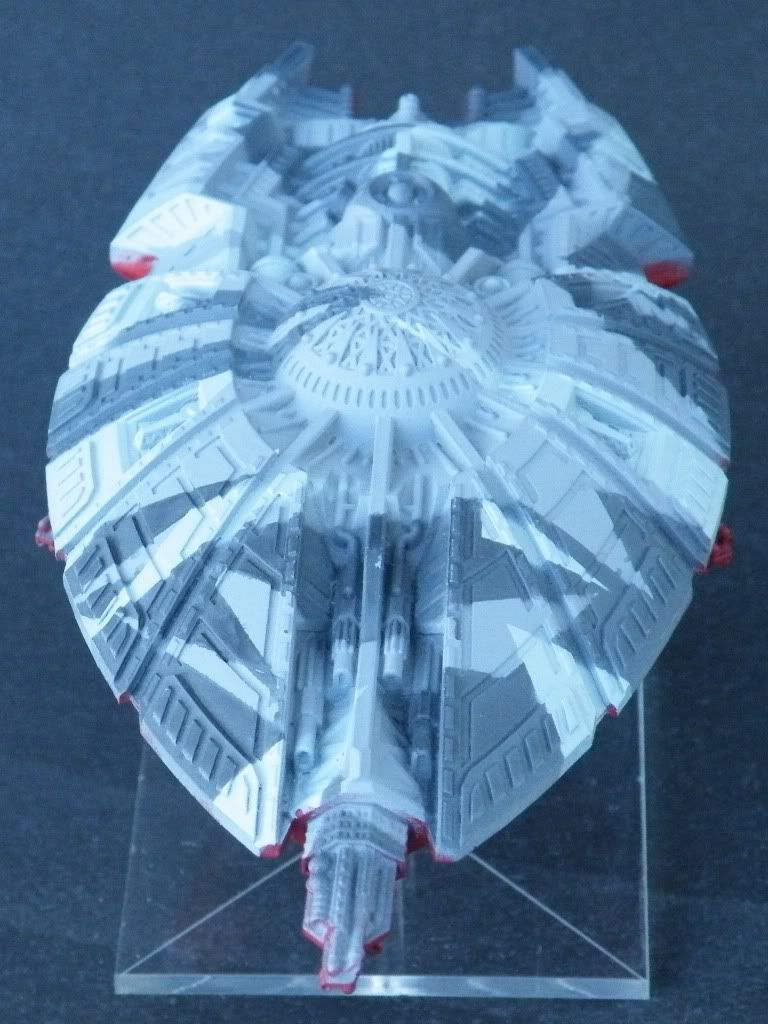
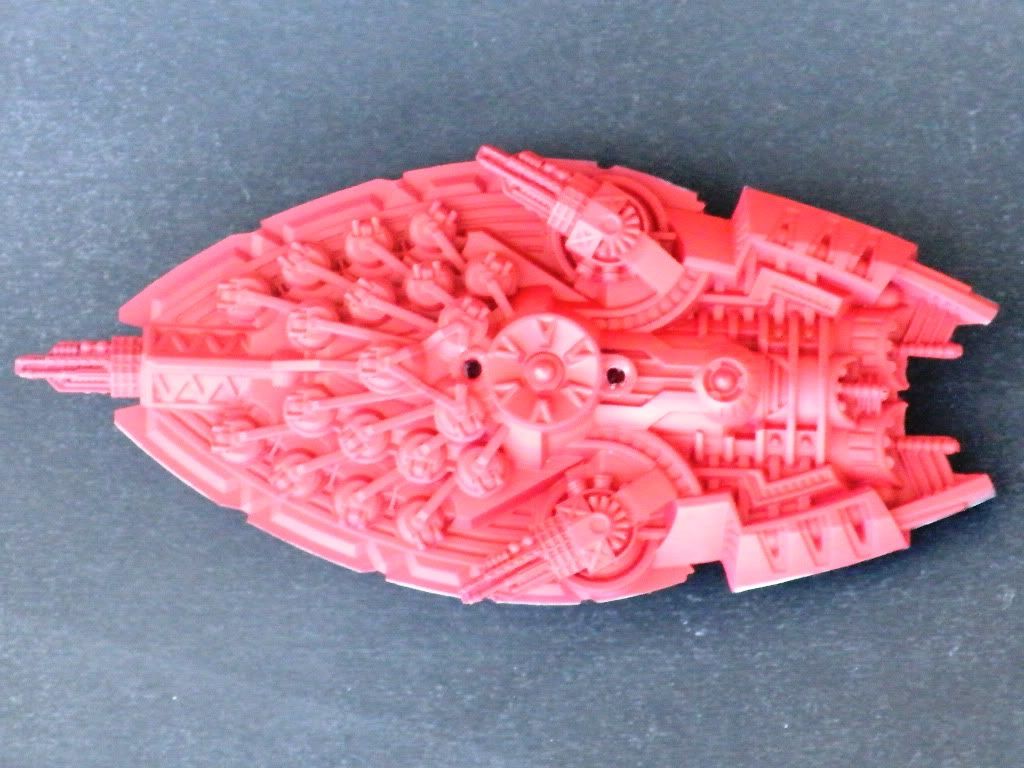
So the Persecution class is a relatively short Dreadnought, being a shade over 16cm long - this places it just slightly longer than the Relthoza battleship. Bulk, however, is where the Directorate excel, and this is over 7cm wide and 3cm deep, weighing in at about 110g, which (like most Directorate craft), gives an impression of being a hefty slab of a ship. The hull is a single-piece casting with the three resin cannon accelerators being supplied separately in a little baggie. Mine had a slight mould mis-alignment at the rear, but as I got it at less than half price it was nothing I was that bothered about nor that will be very noticable on the table. It has some great detail, including 19 plasma turrets underneath and the characteristic Directorate armoured carapace. She's a sleek-looking ship despite her bulk, and looks like she means business, especially with those cannons glued in place (a completely painless operation, incidentally).

Stats-wise, I'm not sure how it plays compared to other dreadnoughts, and it didn't see a whole lot of action in our recent game. It did get some damage, but nothing major, and it was able to throw out some big dice rolls - 19AD in range band 2 with linked fire from the fore broadside and cannon, which is pretty nasty. 13AD from Starboard/Port with linked fire is also not too shabby, and although I had variable results with these, this was really down to my dice rather than anything else. Its shields did (very luckily) prevent a critical hit, so even though only SH1 I can see some value there. I did try the FSD boarders, but even in range band 2 I managed to space them, so not sure about that MAR. Lack of mines, FW and torpedoes means its activation is pretty short and straightforward - it moves and shoots, making it quite limited in some ways. I think where it's going to get mostly used is as a capital ship hunter - a hunter-killer submarine type role.

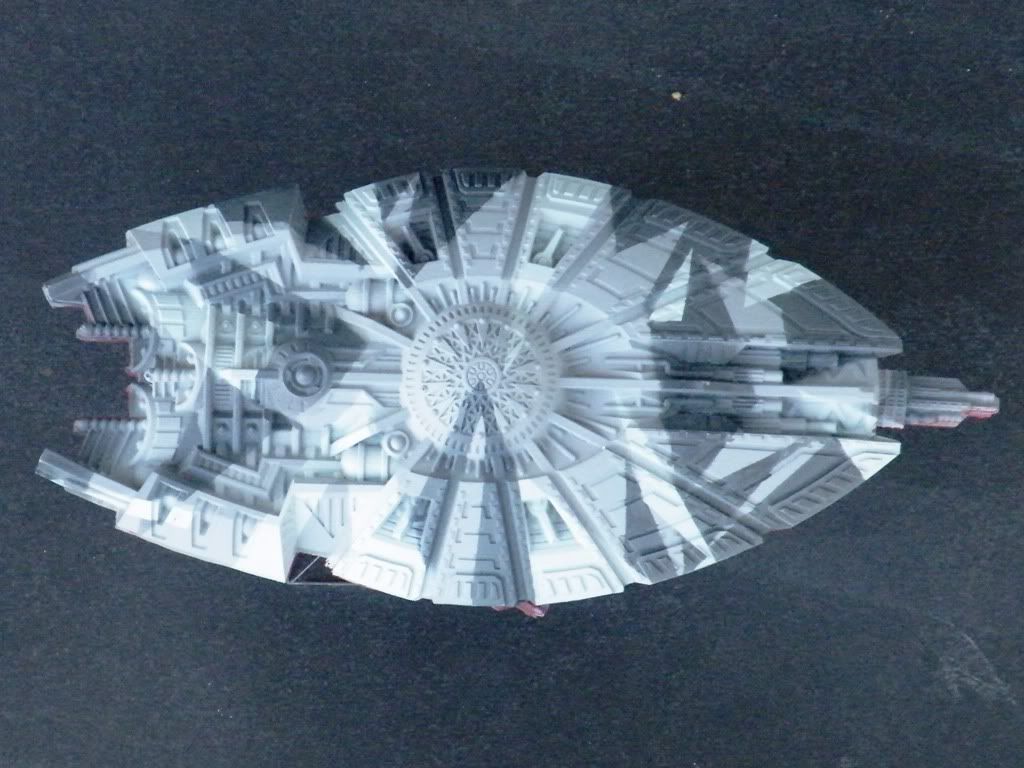
When looking for a colour scheme for my Directorate I was pretty uninspired by what I've seen out there - I didn't mind the metal/green scheme, but that felt a bit unimaginative and "samey" (I do like to have unique fleets - maybe its an ego thing?). The Directorate are a corporate group, so how would a company approach things like spaceship paint schemes? Well, looking at military companies today, they usually go for military finishes, which today are usually muted green tones for ground forces, and greys for air/sea. This got me thinking about navy schemes, and although they're all just low-vis grey nowadays, back in the first half of the last century they had disruptive camouflage applied - often in hard-lined "splinter" pattern. With the Directorate ships having a distinct top & bottom, I thought I could also paint the lower hull a brick-red like many ships hulls then, with a black band around the centre - this would provide a bit of colour and visual interest, yet still be relatively easy to paint.

As I'd already primed the model in grey car spray primer, I just needed to add dark and light shades (this already providing a mid-tone). I masked up with Tamiya masking tape and sprayed the dark areas with thinned Adeptus Battle grey, then remasked an repeated with Astronomican Grey. When dry I then masked the edges and sprayed the entire underside with Scab red, followed by highlights of Red Gore and Blood Red to give some tonal variation and impression of depth. That's as far as I got before going to bed - and here she is;